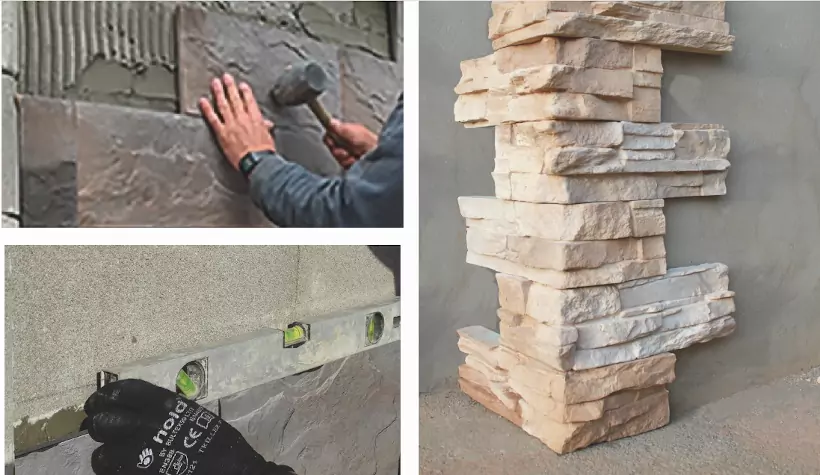
NSTALLATION OF THERMOSTONE®
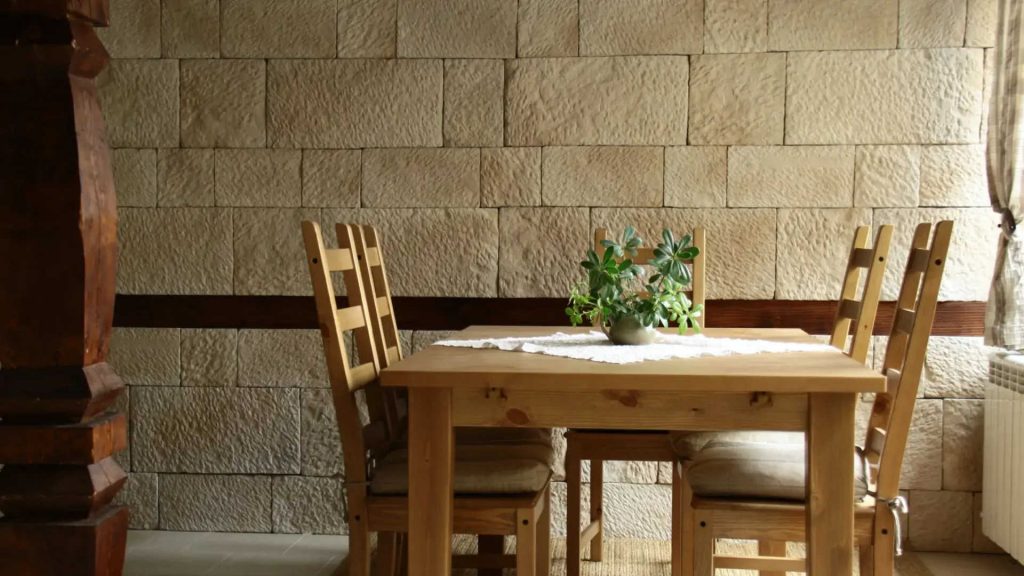
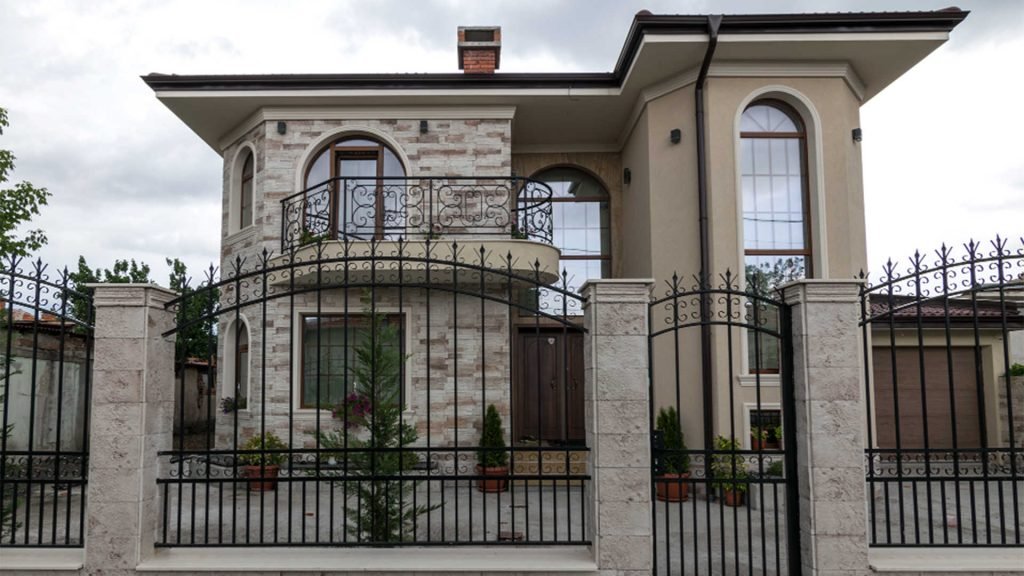
ECO-FRIENDLY STONE
Assembly
Method
1.
1. Measure the height and length of the surface you are going to cover, discounting the holes for doors and windows. Also measure the linear metres of the corners.
* We advise ordering 5% more than the actual m2 for cutting and breakages.
2.
3.
4.
5.
6.
Comments
- Bear in mind that the ambient temperature should be between 5-30ºC.
- The colours, due to the humidity of the product, may vary in tone up to 50% from their original colour.
- When you need to cut a piece, use a circular saw with a diamond blade.
- Do not, under any circumstances, use aggressive liquids or high pressure machines for the cleaning or treatment of the stone.
- In indoor venues with a presence of smoke and vapour, and in areas with a high presence of salts and chlorine (coasts and mountains), it is advisable to apply a waterproof and breathable treatment.
- THERMOSTONE® products do not undergo any changes due to fire or the outdoors, but their support structure may be affected, so it is recommended that you take extra care in insulating them beforehand.
Installation
7.
8.
9.
10.
Remove the excess adhesive cement from the edges so that the pieces don’t become stained when positioning the next row.
11.
Filling of joints
12.
For the joints, you can use wooden plugs or similar which are the size of the joint you want to place, so the pieces don’t slip while they dry fully and to achieve uniformity in the joints.
13.
For the joint filler, you should make a well mixed dry mortar, mix water repellent liquid to prevent efflorescence. Apply using a piping nozzle (once applied, leave to dry for 30-40 minutes).
14.
15.
- Bear in mind that the ambient temperature should be between 5-30ºC.
- The colours, due to the humidity of the product, may vary in tone up to 50% from their original colour.
- When you need to cut a piece, use a circular saw with a diamond blade.
- Do not, under any circumstances, use aggressive liquids or high pressure machines for the cleaning or treatment of the stone.
- In indoor venues with a presence of smoke and vapour, and in areas with a high presence of salts and chlorine (coasts and mountains), it is advisable to apply a waterproof and breathable treatment.
- THERMOSTONE® products do not undergo any changes due to fire or the outdoors, but their support structure may be affected, so it is recommended that you take extra care in insulating them beforehand.